Installation Guide
Production Installation
Prerequisites
Starbelly is offered as a collection of Docker images and Docker-compose configurations. If you’re not familiar with Docker, it is a system for deploying multiple software components into individual containers and orchestrating the entire system.
First, install Docker using the instructions for your platform.
Next, install Docker Compose using the instructions for your platform.
Docker Compose
Docker Compose is used to set up and run multiple Docker containers together.
You should have installed Docker Compose in the previous step. Now you need a
Docker Compose configuration file (usually called docker-compose.yml) that
specifies what containers need to be created and how they should be configured.
A sample docker-compose.yml configuration file is available for Starbelly, but
you may need to tailor this file to your unique environment.
Download this zip file
and extract it. (If you have Git installed, you can run git clone
git@gitlab.com:hyperion-gray/starbelly-docker.git instead.) From the
starbelly-docker/starbelly directory, run the following command:
$ docker-compose up -d
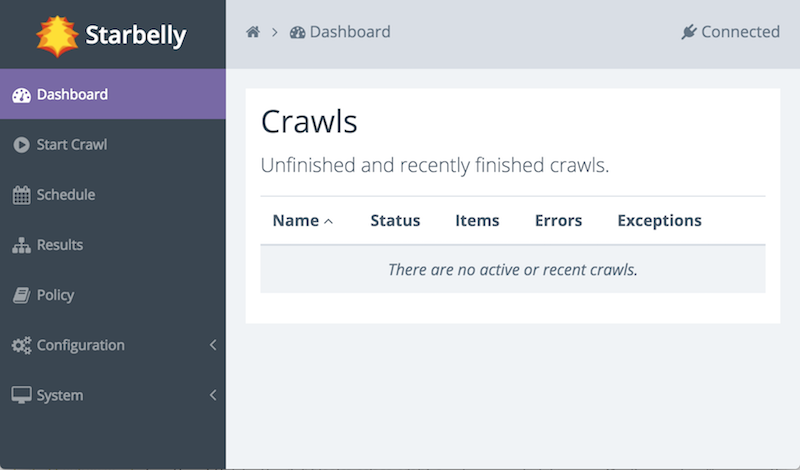
This will download the required Docker images, create the corresponding containers, and then start the entire application on ports 80 and 443. Once the application has started, open up a browser and try navigating to the host where you are running Starbelly. The default username and password is “admin”.
You should see the Dashboard:
If you experience any problems, try using the command docker-compose logs
to view logging output from the Docker containers.
Security
If your Starbelly instance is exposed to the internet, then you should immediately do two things to secure it:
- Change the admin password.
- Create TLS certificates
The admin password is stored in a file called htpasswd and it can be
created or edited using the htpasswd command from the Apache2 utilities
package (called apache2-utils on Ubuntu distributions). Install that package
and then run this command:
$ htpasswd -c passwd admin
New password:
Re-type new password:
Adding password for user admin
Type in the new password when prompted. You can change passwords or add
additional passwords to an existing file by running htpasswd passwd USER,
where USER is the username to change. When you are done, copy the passwd
file into the Docker container and remove the original.
$ docker cp passwd starbelly-web:/etc/nginx/tls/
$ docker exec starbelly-web nginx -s reload
2017/11/02 14:29:37 [notice] 1437#1437: signal process started
$ rm passwd
The default TLS certificate is automatically generated and self-signed when the container is created. If you have a valid domain name for your Starbelly server, then you should obtain a real certificate for it.
If you have obtained your own certificates, you can install them as follows,
where certificate.pem is the full certificate chain in PEM format and
privatekey.pem is the private key in PEM format.
$ docker cp certificate.pem starbelly-web:/etc/nginx/tls/server.crt
$ docker cp privatekey.pem starbelly-web:/etc/nginx/tls/server.key
$ docker exec starbelly-web nginx -s reload
2017/11/02 14:29:37 [notice] 1437#1437: signal process started
If you do not already have TLS certificates, you may obtain free certificates
from Let’s Encrypt. First, install the certbot
application using the instructions for your platform. Now run certbot to create initial certificates,
replacing YOUR_DOMAIN with the fully qualified domain name of the server and
replacing /path/to/starbelly-docker/starbelly with the path where you placed
the Starbelly docker configuration files from an earlier step.
$ cd /path/to/starbelly-docker/starbelly
$ certbot certonly \
    --webroot -w certbot-webroot \
    -d YOUR_DOMAIN \
    --deploy-hook ./deploy-certbot.py
Plugins selected: Authenticator webroot, Installer None
Enter email address (used for urgent renewal and security notices) (Enter 'c' to
cancel): YOUR EMAIL HERE

-------------------------------------------------------------------------------
Please read the Terms of Service at
https://letsencrypt.org/documents/LE-SA-v1.1.1-August-1-2016.pdf. You must agree
in order to register with the ACME server at
https://acme-staging.api.letsencrypt.org/directory
-------------------------------------------------------------------------------
(A)gree/(C)ancel: a

...snip...
This command will attempt to get TLS certificates from the Let’s Encrypt server. If you’ve never run certbot on this server before, it will prompt you to enter a contact e-mail address and agree to the terms of service.
If certificate generation succeeds, it will install those certificates into the Docker container. This certificate is valid for 90 days and will need to be renewed before it expires. Create a daily cron job containing the following command to ensure that the certificate will be renewed appropriately.
certbot renew --deploy-hook /path/to/starbelly-docker/starbelly/deploy-certbot.py
Next Steps
Now that you have Starbelly up and running, take a look at Your First Crawl.
Developer Installation
Prerequisites
Separate Docker images are provided for developers who wish to contribute code to Starbelly. The development environment contains a few useful changes, such as mounting code from you local machine into the Docker container, automatically restarting the application server when the code is modified, etc.
Important
You should make sure that you understand the production installation above before attempting the developer installation.
In addition to the prerequisites for the production installation, you also need to install git for the developer installation. Checkout the following repositories into the same parent directory. If you do not have a GitLab account, you can check out the repositories using HTTPS:
- git clone https://gitlab.com/hyperion-gray/starbelly.git
- git clone https://gitlab.com/hyperion-gray/starbelly-docker.git
- git clone https://gitlab.com/hyperion-gray/starbelly-protobuf.git
- git clone https://gitlab.com/hyperion-gray/starbelly-web-client.git
If you do have a GitLab account, you should check out the repositories using SSH instead:
- git clone git@gitlab.com:hyperion-gray/starbelly.git
- git clone git@gitlab.com:hyperion-gray/starbelly-docker.git
- git clone git@gitlab.com:hyperion-gray/starbelly-protobuf.git
- git clone git@gitlab.com:hyperion-gray/starbelly-web-client.git
Finally, you should install Google Dart SDK. Note that the Pub packaging tool included
with Dart will install packages to /var/cache/pub by default on Linux. This
location is mounted into one of the Docker containers so that Pub packages are
visible inside the container.
Docker Images
Next, you need to build the developer images. These images contain some additional development and debugging tools that are not present in the production images. Run the following commands:
$ cd /path/to/starbelly-docker/starbelly-dev
$ docker build -t starbelly-dev-app app
Sending build context to Docker daemon  2.048kB
Step 1/3 : FROM hyperiongray/starbelly-app:0.0.1
 ---> 3e201e933024
Step 2/3 : RUN apt-get install -y vim
 ---> Running in e1eca494dd23
Reading package lists...
...snip...
$ docker build -t starbelly-dev-web web
Sending build context to Docker daemon  5.632kB
Step 1/7 : FROM hyperiongray/starbelly-web:0.0.1
 ---> 652fcfaca537
Step 2/7 : RUN cd /tmp &&     openssl req -x509 -newkey rsa:2048                 -keyout server.key -out server.crt                 -days 365 -nodes -subj '/CN=starbelly' &&     mv server.key server.crt /etc/nginx/tls
 ---> Running in dc86f5e609bf
...snip...
Now you have built the developer images for Starbelly.
Docker Compose
After you have built the developer images for Starbelly, the next step is to use Docker Compose to start up the entire environment. Run the following commands.
$ cd /path/to/starbelly-docker/starbelly-dev
$ docker-compose up
Creating network "starbellydev_default" with the default driver
Creating volume "starbellydev_web_tls" with default driver
Creating volume "starbellydev_db_data" with default driver
Creating starbelly-dev-app ...
Creating starbelly-dev-web ...
Creating starbelly-dev-db ...
...snip...
You should now be able to open the Starbelly GUI by pointing a web browser at your development server.
Dartium
The Starbelly web GUI is written in Dart. If you followed the steps above, you should already have installed the Dart SDK. Standard web browsers do not possess the Dart virtual machine required to run this Dart client code. When you connect with one of these standard browsers, the server automatically compiles the Dart code to JavaScript code and serves it to you.
This process can be slow, and during development you can save a lot of time by using a special browser called Dartium that includes the Dart virtual machine. When you access Starbelly through Dartium, the server will send Dart code to the browser, skipping the slow compilation step. Download Dartium from the Dart downloads page.
You can unzip the Dartium archive anywhere you want. One suitable place is
/opt/dartium. To run it, execute the following command:
/opt/dartium/chrome.